Hager Switches

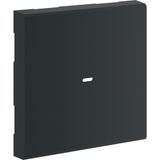
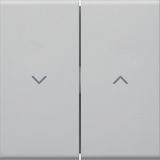
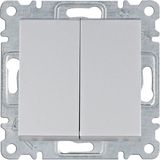


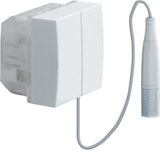
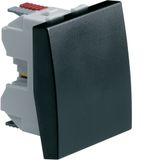
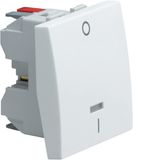


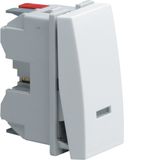





-
-
1
- 2
-
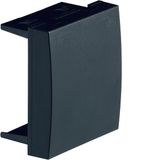
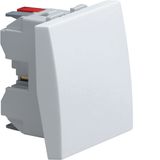
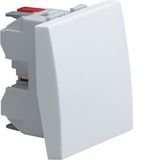
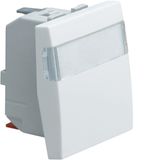
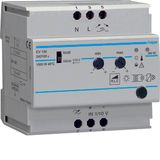
In every installation — residential, commercial or retrofit — the switch is one of the most frequently operated devices, yet often the specification receives less attention than lighting or wiring design. The Hager switches range covers Hager light switches, Hager push‑button switches, Hager modular switches, Hager dimmers and regulators, Hager surface and flush switches, and the underlying Hager switch mechanisms. From years of panel‑ and wiring‑work I’ve seen that when the switch‑family is mis‑matched or depth/inset is wrong, you get last‑minute surprises that delay commissioning. Specifying the right Hager switch series ensures installation integrity, spare synchronization and easier maintenance.
Hager Light Switches – Fundamental On/Off Control Devices
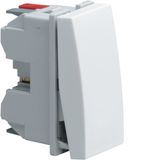
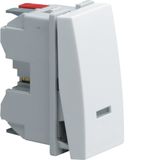
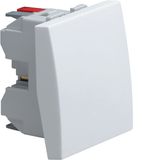
For standard lighting circuits—corridors, rooms, common areas—you’ll typically use Hager light switches. These devices serve the basic ON/OFF function but must also match wiring practices, face‑plate styles and user ergonomics. Hager’s “Switches and Sockets” catalogue includes a range of designs in various finishes and standards.
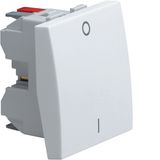
From on‑site experience: you’ll verify current rating (e.g., 10 AX or 16 AX at 250 V AC), mechanism compatibility (single‑pole, two‑pole, intermediate), mounting depth (flush box vs surface), plate finish, and whether it supports labeling or user markings. Using Hager light switches across your site means unified spare‑parts, matching finishes and consistent installation protocols.
Hager Push‑Button Switches & Modular Switches – Build‑Up Flexibility
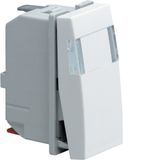
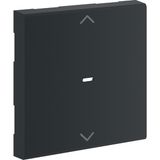
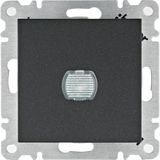
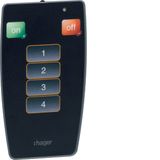
In installations where controls form part of a larger system—scene switching, fan control, automation interface—you’ll choose Hager push‑button switches or Hager modular switches that integrate into the wiring‑device system. Hager’s catalogue lists “switches, push buttons and LED indicator lights” under their modular devices section.
From field work: you’ll check whether the mechanism supports momentary or maintained contacts, whether it’s illuminated or requires labeling, the compatibility with multi‑gang plates, whether it fits flush or surface installation, and how it interfaces with automation if required. Specifying Hager modular switches maintains consistency when combining switches, indicators, USB outlets, or communication modules.
Hager Dimmers and Regulators – Advanced Lighting Control
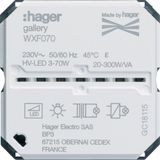
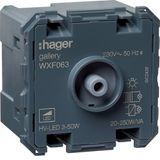
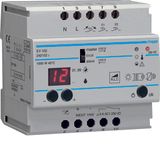
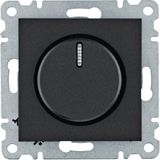
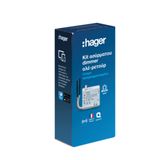
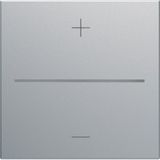
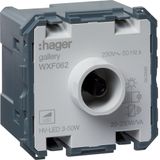
In areas needing more than basic switching—such as lounge zones, meeting rooms, hospitality areas—you’ll use Hager dimmers and regulators. These modules allow variable light levels, scene modes or integration with smart control systems. Hager’s product list includes dimmers and time‑switch/relay modules under their modular devices portfolio.
From installation vantage: you’ll specify load‑type compatibility (LED, halogen, fluorescent), minimum/maximum load, dimming method (phase cutting, trailing edge), gang size, plate finish, and mounting depth. Standardising on Hager dimmers means spares are compatible with your other switch‑devices, and no mismatched modules appear on site.
Hager Surface and Flush Switches – Installation Depth & Finish Considerations
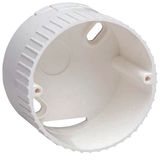
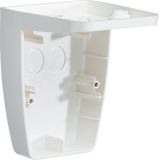
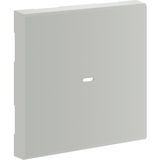
Switches may be installed in flush‑mounted boxes or surface‑mounted conduits depending on wall construction or retrofit constraints. The category of Hager surface and flush switches involves the mechanical mounting, box depth, compatible plates and installation accessories. From the Hager “Switch & Socket” documentation, depth and mounting standards are specified for flush installation.
From site experience: you’ll check the wall construction (drywall vs masonry), box depth, plate margin, whether the mechanism protrudes too far, mounting screws, and whether the module aligns with plate finish. Using Hager switch modules that match the flush‑box depth and plate range avoids devices that sit proud or require re‑cutting.
Hager Switch Mechanisms – The Core Device Element
At the heart of the switch installation is the Hager switch mechanisms — the actual electrical contact block, the rocker, the terminal block, the mounting interface behind the visible plate. These mechanisms need to integrate with the face‑plate system you are using and match installation conditions (current rating, voltage, wiring type). Hager’s modular device catalogue covers mechanisms and accessory compatibility.
From procurement perspective: you’ll need to confirm mechanism width (single‑gang module etc.), wiring type (screw terminal vs push‑in), whether the mechanism accepts labelling, whether it supports indicator lamps or switching multiple circuits. Standardising the mechanism range (Hager) across devices simplifies spares and reduces mix‑ups.
Procurement & Installation Insights
When bulk‑ordering Hager switches for a building project (residential block, office fit‑out, hotel renovation) procurement and installation teams typically review:
- Module size and plate system compatibility: whether the switch fits with your chosen trim/frame series
- Electrical rating and applicability: current rating, number of poles, type of contact (normally open/closed)
- Mounting type and box depth: flush vs surface, appropriate to wall construction
- Finish/coating and design line: for face‑plates that match interior aesthetics (white, satin, black, metallic)
- Functionality beyond basic switch: push‑button, scene control, illuminated switch, etc
- Stock, lead‑time and spare logic: switches are often one of the finishing trades—delays here cause site hold‑ups
- Brand consistency: using Hager for all switch devices (light, push‑button, dimmer) simplifies spare parts, maintenance, training and document sets
From experience: I’ve seen installations where the switch module arrived but the plate system was incompatible — causing re‑orders and wasted labour. Specifying the correct switch (including mechanism and finish) from the start avoids these issues.