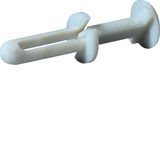
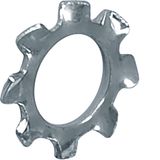
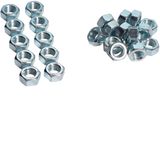
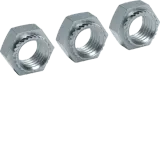
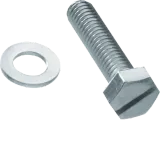
Hager Mounting materials
When you’re mounting enclosures, panels or equipment, the “invisible” hardware often decides how trouble-free the job is. Brackets, supports, mounting plates, cable clips — if one of these is wrong, the installer fights it, the panel is late, the cost creeps up. With Hager mounting materials you get components designed to reduce that friction. In practice you’ll usually see their wall-mount sets, plate kits and installation accessories in electrical-rooms, switchgear panels, commercial installations where speed + reliability matter.
Hager Mounting plates & sets: load, size, compatibility
When you order a mounting plate (for example the VZ454), check size and screw-spacing match your enclosure frame. A plate for a 4-row board might measure say 232 × 120 mm with pre-drilled holes at 80 mm centres (check the spec). Using correct spacing saves time on-site: you won’t be re-drilling or realigning.
Bracket kits often have rated load-capabilities: e.g., a bracket might support up to 100 kg static load if properly fixed, or allow a safety margin of 2-3× for dynamic loads (vibrations, door openings). You’ll usually want brackets rated for at least 50 kg if you mount heavy equipment or multiple rows of breakers.
Hager Cable clips & supports: spacing, material, environment
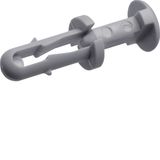
Cable management isn’t just about tying cables: correct clips ensure the cable isn’t distorted, looming mistakes are avoided, looking tidy, installation is faster. A typical Hager cable clip might secure cable of Ø 8–16 mm, made of UV-stable polyamide for indoor/outdoor use, temperature rated up to +85 °C. For outdoor or exposed installations consider metal clips or stainless steel versions.
Spacing guideline: in practice you’ll mount a clip every 300 mm for horizontal runs, every 500 mm for vertical runs — if the clip spacing is wrong you get sagging cables, harder tracing, potential mechanical stress on terminations.
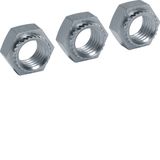
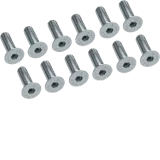
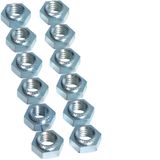
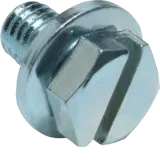
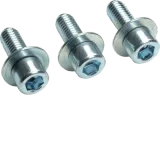
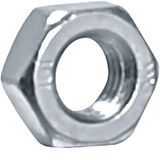
Fixing accessories: screws, anchors, kits
Procurement-wise: mounting sets often include the plate + bracket + fixing screws + anchors — means one part number, less logistic errors. For bulk orders you’ll want to check pack-sizes: e.g., a kit of 25 units, each unit includes 4 screws M6×12 + 4 anchors 8 mm + 2 supporting brackets. That standardization saves you splitting bags of screws yourself.
Material & installation environment
Hager mounting materials are typically powder-coated steel, or aluminium for corrosion resistance. For indoor dry rooms standard steel is fine; for humid installations or outdoor, ensure you pick stainless or aluminium versions. In practice installers note: if you mount in basement/underground you’ll regret using standard steel brackets in 3-5 years due to rust around anchors.
Also check installation hardware for fire-rating or enclosures requiring fire-protection: the mounting plate must not reduce the enclosure’s rating by using wrong screws/anchors.
Stocking logic
For a wholesale buyer: pick 3-4 common mounting set variants that cover >90 % of your projects. Example:
- Wall-mount set for 2-row enclosures
- Wall-mount set for 4-row enclosures (typical VZ454 plate)
- Cable clip set for main trunk wiring (bundle of 100 clips + anchors)
- Universal bracket kit for heavier loads (50-100 kg).
This gives coverage, simplifies warehouse and reduces fast-moving-sparks.
Also check packaging: one kit weight ~0.8 kg, size ~300×200×60 mm — useful for shelf planning.
And verify batch & traceability: Hager typically provides batch codes, so if there's an issue you can trace specific kits.
Cost/benefit in practice
From experience: using branded mounting hardware (Hager) vs generic can reduce installation time by ~15-20 % (fewer adjustments, fewer missing parts). Also less post-handover faults (brackets loosening, rust starts). For large projects that adds up: saving one hour per panel for a site with 100 panels equals a lot of installer time.
Also note that poor specification of mounting materials sometimes costs more after project start — leakage, drilling errors, re-install times. Good mounting hardware avoids downtime.
- Confirm kit contents: ensure the mounting set includes plate + brackets + screws/anchors.
- Confirm compatibility: the plate size and hole positions must match your enclosure series (e.g., Hager Volta, Hager Vector, etc).
- Confirm material & finish match environment: indoor “normal steel”, outdoor/humid “galv/alu/stainless”.
- Confirm pack size & pricing: e.g., 25 kits per box, but you might need 120 units → plan multiples.
- Confirm lead-time and logistic service: bulk quantities may require special order; ensure delivery aligns with your site schedule.
- Confirm documentation: technical drawings, mounting instructions should accompany kits so installers know hole spacing, load ratings.
- Confirm warehouse logistics: small items (clips, supports) get lost easily; ordering “kit” reduces waste.
- Confirm service life: expect mounting hardware lifespan of 10+ years with correct use; low-cost hardware may need replacement earlier.
Why Hager Mounting Materials Make Sense for Wholesale
Choosing Hager for mounting & installation accessories gives you: a brand with established quality; components designed to integrate with other Hager systems (so fewer mis-matches); documented specs that help your installers; fewer “one-offs” to manage; and better resale/installation performance. For you as procurement manager or wholesaler, that means reliable stock, fewer warranty issues, higher installer satisfaction.
